Showing posts with label preserves. Show all posts

Saturday, October 8, 2011

Make Your Own Organic Cranberry Sauce {Enough for both Canadian Thanksgiving and Christmas}


I had a lovely evening out last week with my friend Shana.  We went out on the town to a canning class put on by Bernardin in a local church kitchen. Although we're both becoming rather seasoned canners it's nice: 


1. To have a nice community event to go to.
2. We kind of like hanging out in church basements.
3. We need to start having real answers when we get asked questions about canning instead of having to admit to some of our bad practices and mishaps (see here, and here for details).


One of the recipes shared by Chef Emerie was for Spiced Cranberry Preserves.  The process is the same as this recipe for cranberry sauce off the rather useful home canning website.  The only difference is that this method uses 1/2 teaspoon of ground cloves and 1/2 teaspoon of ground cinnamon so no need for cheese cloth. I actually used a 1/4 teaspoon of each. There's also a good recipe for straight up cranberry sauce which is basically just a larger amount without the spices.  


This is so simple.  Thanksgiving and Christmas Cranberries are essentially just jam so you really can't go wrong. 


The high pectin content of cranberries really makes this simple though; 10 minutes and you're set.  Get it? Set?  That's a jam joke. Really though, I had completely finished this project in one toddler nap and even had time to call my dad and a clean kitchen when she woke up.


I made this recipe twice; once with the spices and one without.  I think they are equally delicious but we'll be putting them to a taste test on Sunday at Thanksgiving dinner.


So the recipe is: 
4 cups of fresh cranberries {but frozen would work fine too}
1 1/2 cups of water
2 cups of sugar

1/4 teaspoon of cinnamon {optional}
1/4 teaspoon of cloves {optional}


makes 4x 250ml jars


Our version is entirely organic. The Big Carrot and Better Bulk {both on the Danforth in Toronto} have  awesome organic spice sections and it is getting easier and easier to find organic ingredients at the grocery store.


I wish I could have found Ontario Cranberries today as they certainly grow pretty close to home, but it seems there are only three commercial cranberry producers in Ontario. The store had frozen and organic from BC, Some from Maine, and then the fresh organic Quebec ones I ended up choosing. I'm going to keep my eye out at the farmer's market this weekend as I have a few more cranberry recipes I need to make and the foodies & farmers of twitter tell me there are smaller scale cranberry growers to look for.


Let's can some cranberries while there's still enough time to do this for Thanksgiving dinner this weekend:


Prepare your jars and lids by washing and bringing your jars to a boil and in a separate pot bringing your lids to a simmer.


In your best non-reactive pot, combine all your ingredients over medium heat.


Cook for 10 minutes or so.  You'll see / hear the cranberries burst / split / explode. Here's a photo of them splitting. They really pop.


I then squished a few up with the back of my spoon just to mix things up a little.


Quickly jar up the preserves with a 1/4inch head room, wipe the rims, put on your warm lids, screw finger tight and then heat process for 10 minutes.  That's it! You're done and the star of Thanksgiving dinner with some extra to bring again at Christmas; Ensuring that you remain your parent's favourite daughter.


All kidding aside, I'm really pleased with how these turned out and would recommend making some both to the seasoned canner and the tenderfoot who is looking for an easy to make preserve that will certainly be well received.


If you would like detailed step by step canning instructions just check out www.homecanning.com.  I really couldn't lay it out any better and there are even instructional videos.

Tuesday, September 13, 2011

Canning Tomatoes for the First Time: Some Lessons Learned

Although we've now been canning, mostly successfully, for a few years, this year we've been taking on bigger projects.  First those pesky peaches and now 3 bushels of blasted tomatoes.


We shot this great time lapse video of our twelve hour day that certainly demonstrates the busy-ness but there's much it is not showing.  


Here we are first thing in the morning...

... and a tomato toast 12 hours later.

Here are our notes for next year:

1. Source your tomatoes early.  We bought one gorgeous organically grown bushel from Highmark Farms but should have ordered more.  By the time we figured out how much we actually needed, they were sold out and we were out of time. We ended up getting some lower quality ones from an Italian Grocer on the Danforth but they were a pain to work with and I probably should have headed straight for the food terminal.


2. Next year we'll grow more paste tomatoes.  We grew some Amish Paste, Romas and San Marzanos but not nearly enough.


3. We teamed up with our friend Catherine and foolishly believed that the three of us could handle two toddlers while processing these tomatoes.  
We had a plan.  I made home made play dough.  We rented movies.  But troublesome toddlers don't care for duplo towers with Ryan when they could be standing behind you when you are blanching tomatoes in boiling water.  Thanks goodness for Ergos.  Next year the toddlers will be banished to their grandparents. They added a significant amount of stress at random intervals.


4. Packing tomatoes in water is a crock. We tried a few different methods as this was our first attempt with tomatoes but this simply did not work and we even read the instructions. We ended up hot packing half tomatoes and it worked out beautifully. See lesson #6.


5. We really needed more people. Two couples would have made this much easier.  With 3 couples (and zero mobile babies) we could easily double our yield.


6. Next year we will do things in the reverse order.  I can't remember the reasoning but we packed half tomatoes and them made sauce.  If we had made sauce then packed tomatoes we would have let the sauce cook longer with less urgency and would have had tomato juice to top up the tomatoes. That said we have used all that delicious tomato juice to make bread, cook couscous and I think Andrew and Catherine are making ceasars right now.


7. We need those cool outdoor propane burners like Well Preserved have.  We have one burner on the BBQ that held the big canner and we kept the lids warm on the actual bbq.  The running back and forth to the kitchen was pretty intense.  We do have a sink and water outside and otherwise it was a pretty good set up, but we'd like to move more of it out side next year. The kitchen was trashed. We also need a bigger pot and like 6 more pairs of oven mitts.


That said, it really was a smashing success. We did a few things right, like preparing the day before, having multiple sets of tools and extra pots, and spending a beautiful September day out on the deck   We have a nice haul of tomatoes and sauce for both our families and we had a pretty great time and even got the babies bathed at the end of the day. Sigh.


Any other tips for us?   
How does your family make sauce and can tomatoes? 
Anything else we should know for next year?

Sunday, September 11, 2011

Twelve Hours of Tomatoes in Two Minutes

This video is meant to be part of a much larger post about our adventures in canning tomatoes but that will just have to come later in the week as Ryan and I are just too excited to share this.


Here is a time lapse that Ryan and I made yesterday.  We are canning three bushels of tomatoes with Catherine, her little girl Penelope and Rebecca.  Hazel and the kittens pop in and out too; Mainly to eat the tomato skins.  We turned the camera on at 9:00 in the morning and took the last shot 12 hours later when the kitchen was almost clean.


We're really quite pleased with it and would love it if you took a look and let us know what little detail caught your eye.

Friday, June 3, 2011

project 365: week twenty two: May 28th, 2011 - June 3rd, 2011

May 28th, 2011 Lilacs on Almerinda's farm.
May 29th, 2011 Busy Pollinator.
May 30th, 2011 Barn Lust.
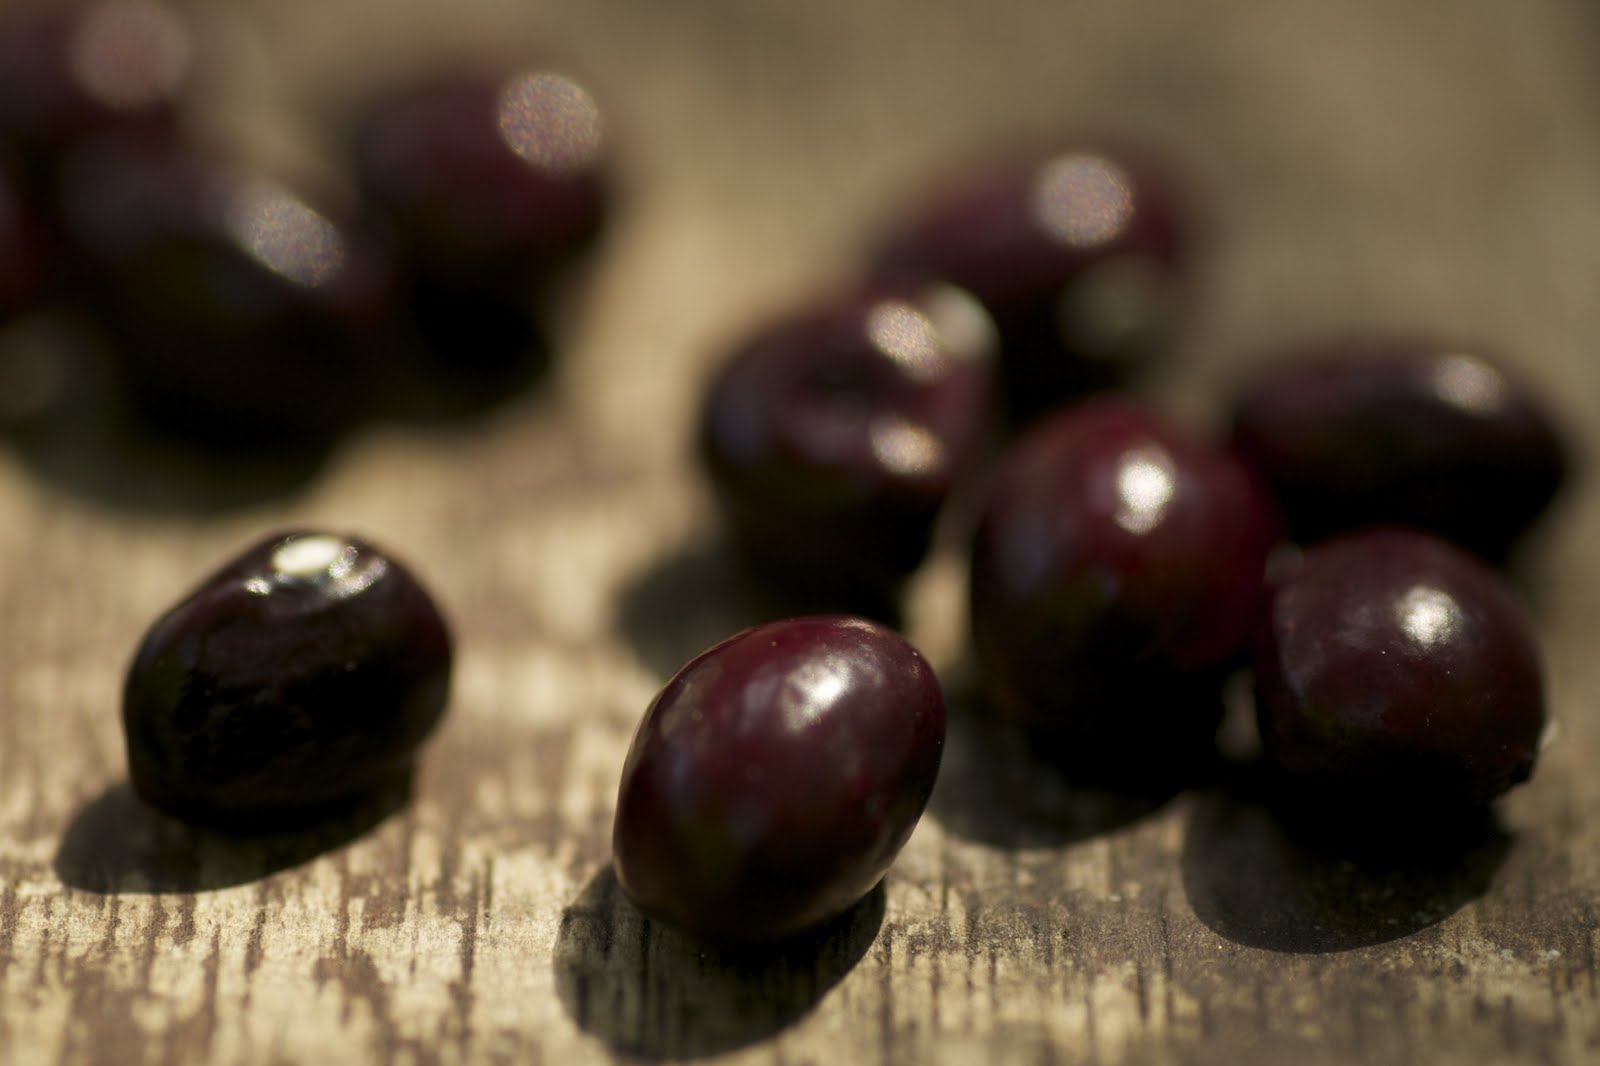
May 31st, 2011 Vermont Cranberry Beans.
June 1st, 2011 Rhubarb deliciousness.
June 2nd, 2011 Look what we found on the curb! 
June 3rd, 2011 Alanna's chamomile.

Thursday, June 2, 2011

Recipe: Ruby Red Rhubarb Preserves

Rhubarb is in full season so when we left the farm we also left with a cooler full of rhubarb.  


Its also hard to believe that this little plant from April...


is now lovely tender stalks of rhubarb...


So what to do with A gazillion stalks of gorgeous organic rhubarb? Make a simple preserve to eat all summer. On ice cream, on toast, on pancakes, with a spoon straight out of the jar, the possibilities are endless!


This really isn't a recipe as much as a rule.  60% fruit and 40% sugar makes a nice preserve.  In this case 4 cups of rhubarb, 2 cups of strawberries and 4 cups of organic cane sugar makes a very nice (very sweet) mix.  I also threw in 2 small empire apples just to thicken things up.


Take your fruit, chop it up, add the sugar, mix them up and then let the fruit sweat all night in the fridge.


First thing in the morning, cook it all up on the stove until its the desired consistency.  Do it right away before things get too hot.  Its almost summer, hardly the time to have 4 pots of boiling water on the stove.


Then pack and seal according to your good canning practices and pass it out to everyone you see that day.  It really is gorgeous.  


Some other great rhubarb recipes from the overwhelming internet:


Well Preserved has a great stewed rhubarb recipe that uses much less sugar,
Shana over at Folks Gotta Eat makes a mean rhubarb cake,
Kate Payne is in the middle of rhubarb fest over on her blog & you can enter the giveaway for her great book since it also discusses some great preserving basics.

Saturday, December 4, 2010

How to: Pimp that Preserve


After a week off to fill a crazy amount of etsy orders, I’m back on the blog.  It's so great that so many stockings will be filled with seeds and that so many people will be growing such interesting fruits and vegetables this spring.

I also had a nice mention from Cracker's Blog in the National Post Food Blog.  Again, it's really nice to see so many people really getting into where their food is coming from and coming to the same conclusions that we did, growing your own is satisfying and delicious.

With Christmas fast approaching, this week will be a little craftier than usual, but I promise there are lots of nice recipes coming up.

One of my favourite blogs, Well Preserved is in the last days of accepting entries for a great competition; Pimp that preserve.  They’ve invited their readers to submit their decorated /pimped canning efforts and there are some fantastic entries. 

While my entry is far from being the most creative, I am pleased that I found such a quick, easy, and entirely recycled way to wrap up the jars I’m giving as gifts.

This is probably the simplest tutorial on the internet.

Find box of old Christmas cards that you can’t seem to throw away.  The tackier, the better.


      Cut circles out of old Christmas cards that are the same size or just a little smaller that your lids.  I used an Olfa compass cutter, but tracing and using scissors would be fine.
  

I used this great Snowflake punch, which makes a nice layered effect with the silver of the lid showing through.


Remove ring, put circle of card over lid, put ring back on.  Presto! Eco-friendly gift giving!